Music isn’t just about what you hear – it’s also about what you see. Enter the world of music visualizers and sound visualizers, tools that turn your audio into a visual experience.
Among these tools, Beatwave is a user-friendly platform where artists can create visuals for their tracks. Ensuring high audio quality, such as using lossless audio files like WAV, is essential for the best visual-audio synergy. Let’s explore five ways you can use Beatwave’s music visualizer features to make your music go boom.
Getting Started with Beatwave
With Beatwave, you can create stunning music videos in minutes, without requiring any video editing experience. Our powerful sound visualizer is designed to help music artists increase their online presence and get more listeners for their music.
To get started, simply choose a template that you like, upload your audio file, and customize the visualizer to match your brand.
Preparing Your Audio File
Before creating your music video, make sure your audio file is ready. Beatwave accepts WAV and MP3 file formats, and you can upload your file directly to our platform.
If needed, you can trim your audio file to focus on the most important parts of your music track. This will help you create a more engaging music video that showcases your music’s unique rhythm and mood.
Creating Your Music Video
With your audio file ready, it’s time to create your music video! Beatwave offers a range of customizable templates designed specifically for music artists. Choose a template that matches your music style, and then customize the visualizer to fit your brand.
You can add your logo, change the colors and shapes of the visualizer, and even add text to highlight your artist name and music track title. With Beatwave, you can create a professional-looking music video in just a few minutes.
1. Sync to the Beat with a Music Visualizer
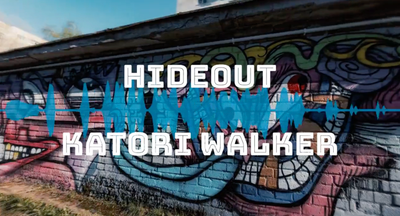
The foundation of any good music visualizer is its ability to sync with your track. Beatwave nails this with a range of visualizer styles that pulse, grow, and move in time with your beats, making it easy to create videos.
To get the most out of an audio visualizer:
- Choose a visualizer style that matches your genre. Electronic music might suit sleek geometric patterns, while organic shapes could work for indie or folk tracks.
- Experiment with different tempos. Some visualizer effects look great with fast music, others with slower, more atmospheric tracks.
- Pay attention to key moments in your track. Use Beatwave’s customization options to highlight drops, breakdowns, or climaxes.
By syncing this way, your music visualizer becomes an extension of the music itself and keeps the viewer engaged.
2. Add Your Brand
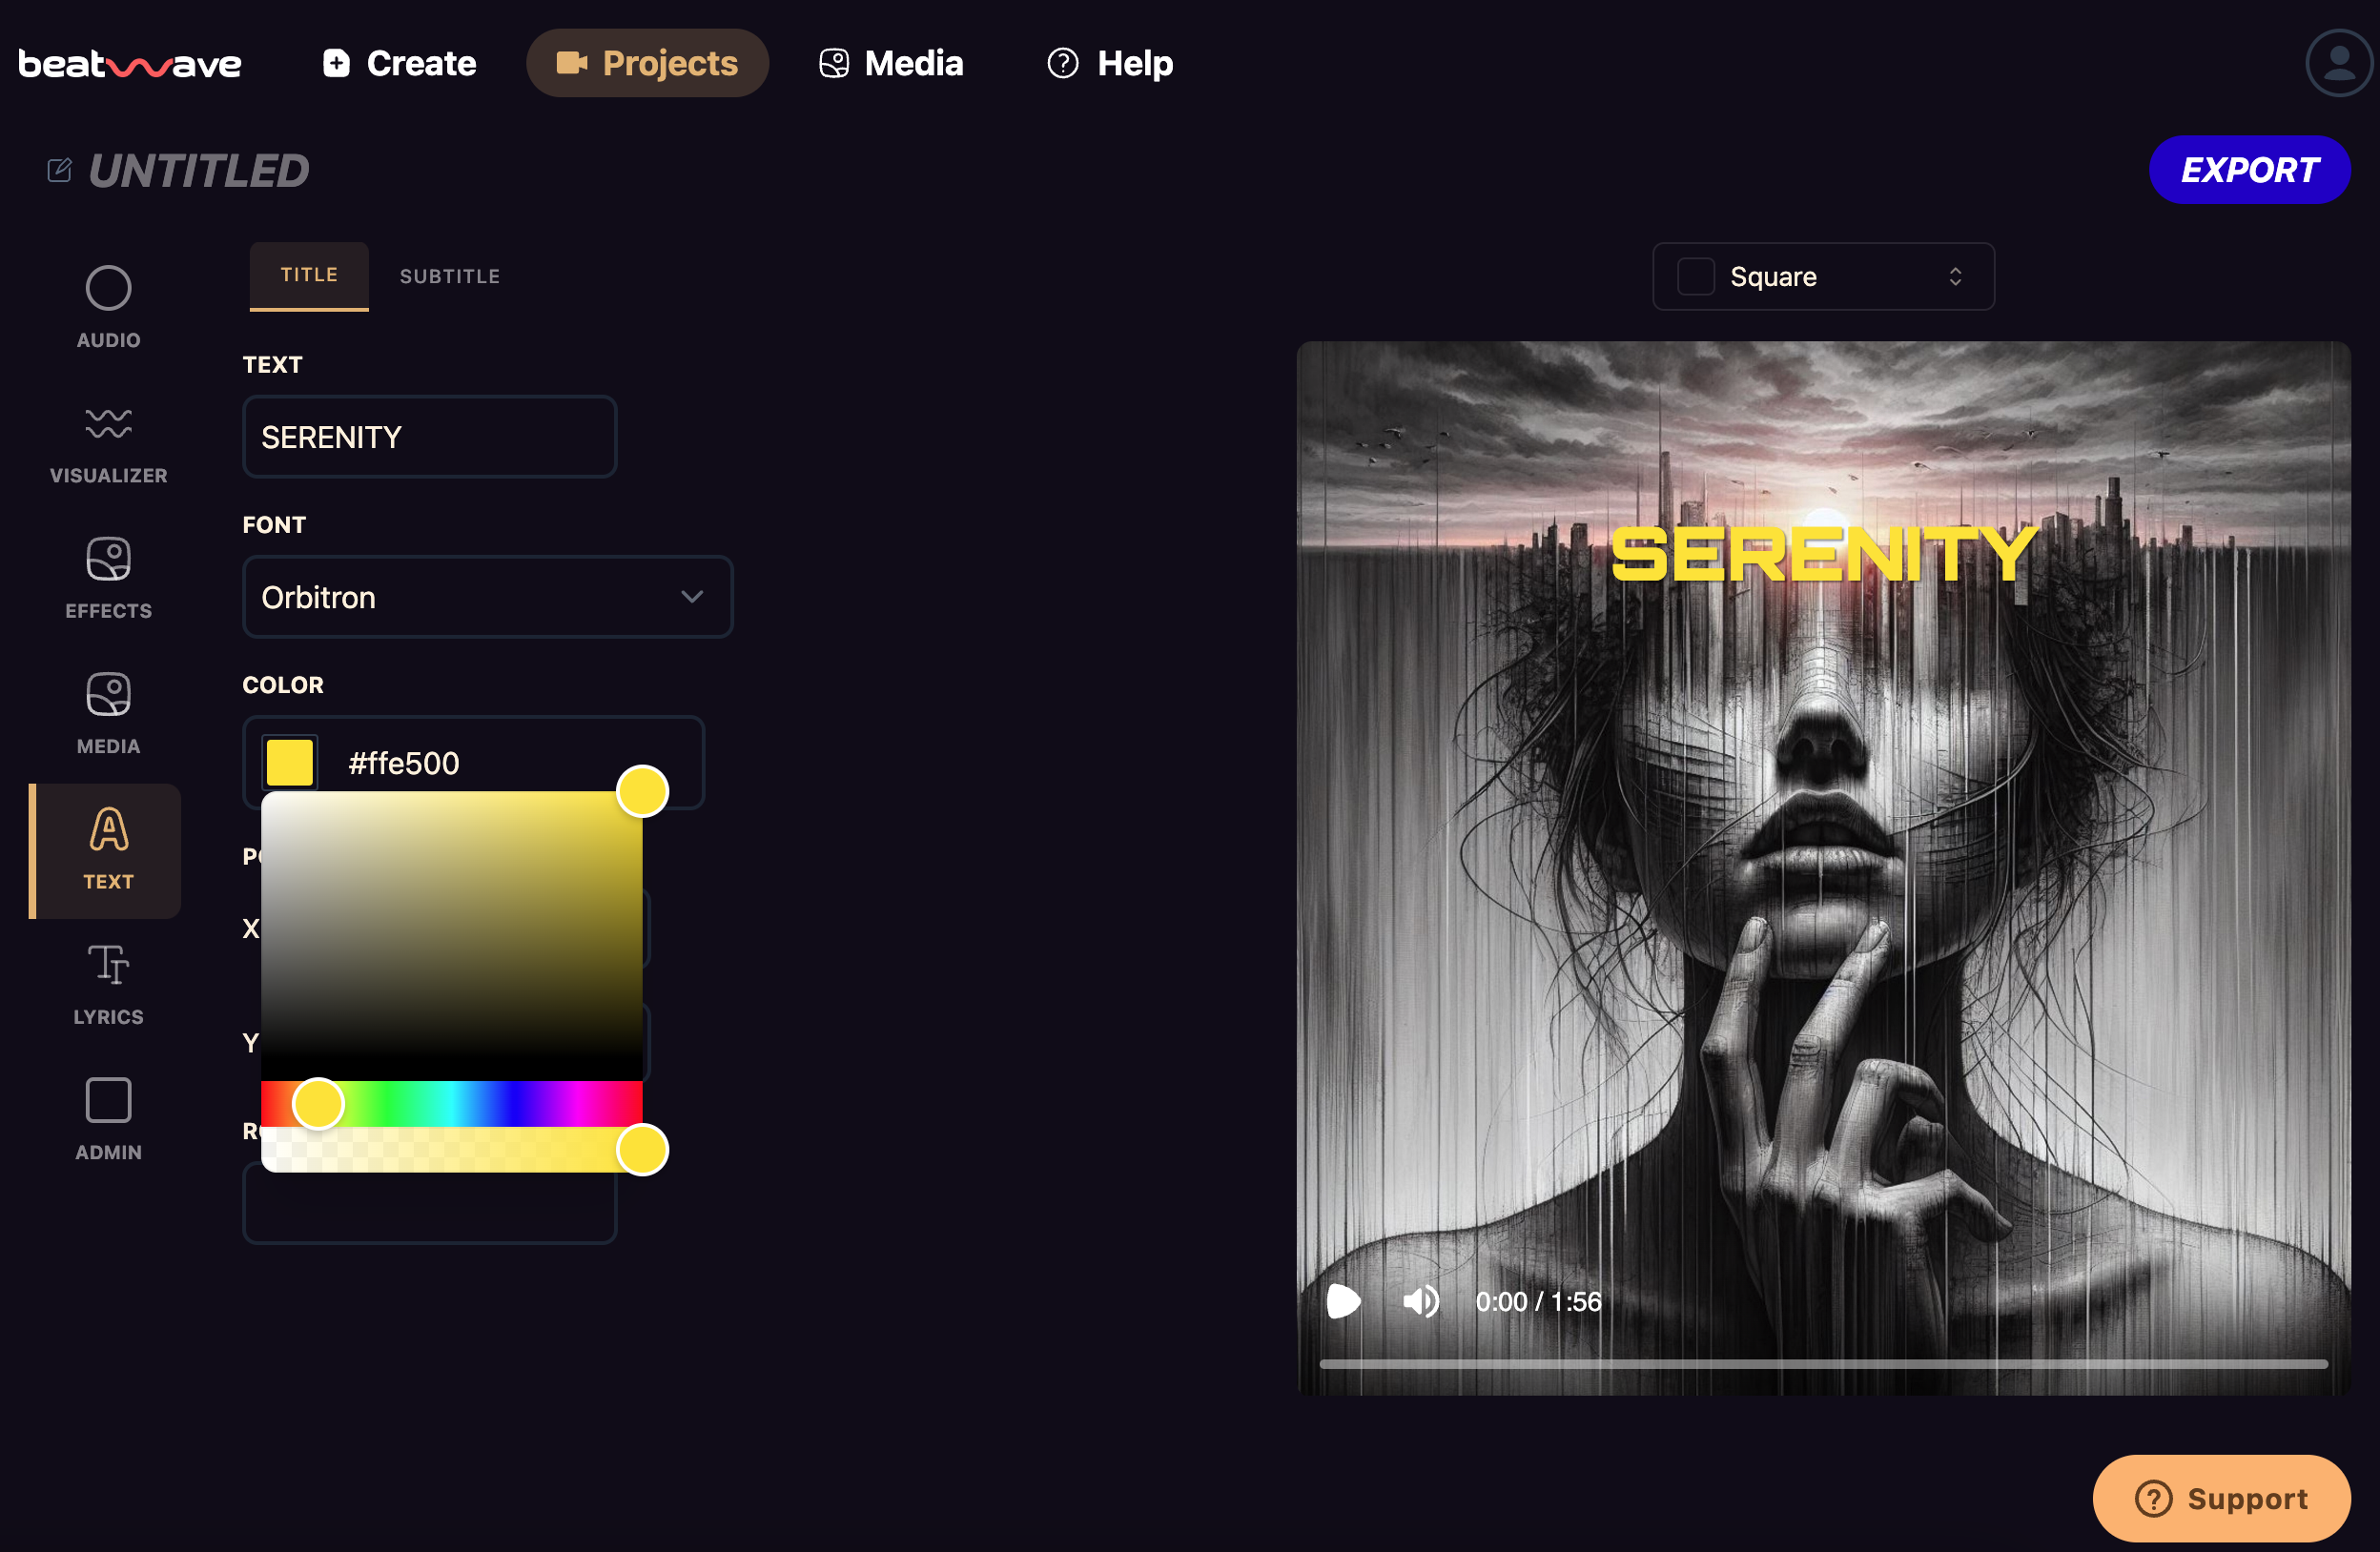
Your music is part of your brand, and your visuals should reflect that. Beatwave’s sound visualizer tools allow for full customization so you can infuse your brand into every frame, synchronizing with your chosen audio track.
Here’s how:
- Customize the color palette of your chosen visualizer to match your album art, logo or overall aesthetic.
- Beatwave lets you overlay images on your visualizer. Subtly add your logo or artist name to boost brand recognition.
- If your visualizer has text (like song titles or lyrics), choose fonts that match your brand’s personality.
Consistency in your visuals helps build a strong brand. When fans see your style, they’ll know it’s your music before they even hit play.
3. Tell a Story with Your Audio File Visualizer
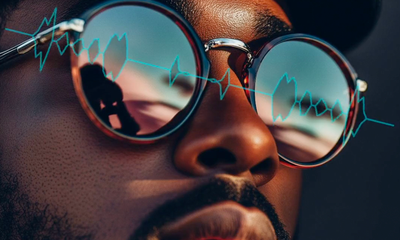
Many think of a music visualizer as abstract eye candy, but with customizable audio spectrums, it can be so much more. Use Beatwave to create a visual narrative that matches your lyrics or the feel of your track.
Try these storytelling techniques:
- Incorporate symbolic shapes or images related to your lyrics. For example, if your song is about the sea, use wave-like visualizer patterns.
- Play with depth and perspective. Move from 2D effects to 3D visuals as your track progresses and create a sense of journey.
By matching your visuals to your music’s story, you create a more engaging experience for your audience.
4. Optimize for Different Social Media Platforms
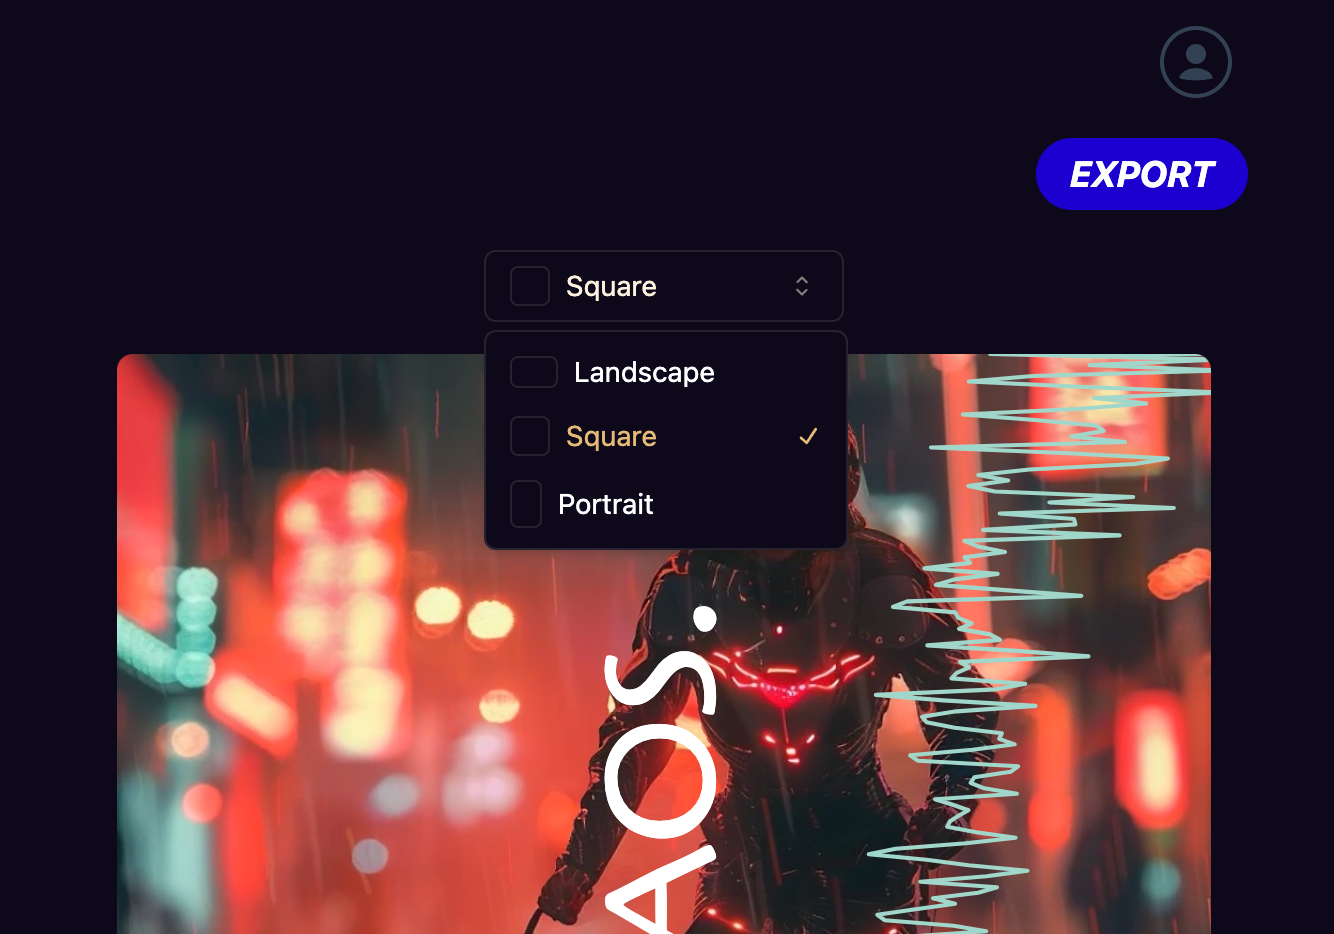
One size doesn’t fit all when sharing your music online. Beatwave gets this and allows you to create visualizers in different aspect ratios and formats.
Adjust your approach for each platform:
- Create square visualizers for Instagram feed posts.
- Use vertical for TikTok, Instagram Reels and YouTube Shorts.
- Stick to landscape for YouTube and Facebook.
But it’s not just about shape. Consider the viewing context:
- For mobile heavy platforms like TikTok use bold, easily readable visuals that work on small screens.
- On YouTube where viewers might watch in full screen you can include more detail.
By optimizing your music visualizer for each platform you can ensure your visuals look great wherever your fans find them.
5. Layer Multiple Visual Elements
Don’t limit yourself to one visual effect. Beatwave lets you combine multiple elements to create rich, complex visualizers that keep the viewer watching.
Try these layering techniques:
- Start with a subtle background animation like slowly moving particles or a gentle color gradient.
- Add your main beat synced visualizer on top of this.
- Overlay text elements like lyrics or song information.
- Add occasional visual “accents” that punctuate key moments in the track.
The key is balance. Layer too much and your visualizer becomes chaotic. But done right multiple layers create depth and interest that single element visualizers can’t match.
Sharing Your Music Video
Once your music video is created, it’s time to share it with the world! Beatwave allows you to export your video in high quality, making it perfect for sharing on social media platforms like YouTube, TikTok, and Instagram. You can also upload your video directly to your YouTube channel or other video-sharing platforms. With Beatwave, you can increase your online presence and get more listeners for your music.
Who is Beatwave For?
Beatwave is designed specifically for music artists, DJs, and content creators who want to increase their online presence and get more listeners for their music. Whether you’re a solo artist or a band, Beatwave’s music visualizer tool can help you create stunning music videos that showcase your music’s unique rhythm and mood. With Beatwave, you can create professional-looking music videos without requiring any video editing experience, making it the perfect tool for music artists of all levels.
Final Thoughts
Creating a great sound visualizer with Beatwave isn’t just about using the tool – it’s about applying creativity and strategy to make something unique to you. By syncing your visuals to your beat, adding your brand, telling a visual story, optimizing for different platforms and layering visual elements you can create visualizers that don’t just accompany your music – they enhance it.
Remember the best music visualizers amplify the emotional impact of your music. They give your audience something to connect with visually while they get lost in your sound. With Beatwave’s simple tools and these tips in your pocket you’re ready to create visual experiences that will make your music unmissable.