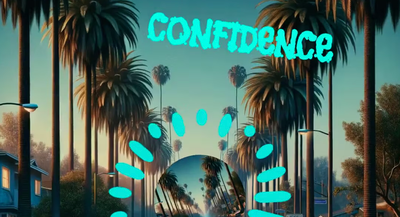
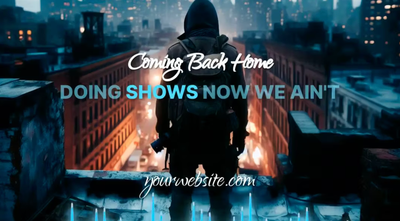
If you’re looking to transform your audio into stunning visuals, Beatwave is the tool for you. Whether you’re a musician, podcaster, or content creator, this AI music visualizer makes it easy to create eye-catching audio spectrum videos.
Best of all, you don’t need advanced design skills to get started. Follow this step-by-step guide to create stunning music visualizations that resonate with your audience.
Creating a Free Music Visualizer
Start by logging into your Beatwave account. Once inside the dashboard, you’ll find an intuitive interface designed for beginners and professionals alike. From here, you’ll access all the features needed to turn your audio file into visually engaging video content.
Step 1: Choose Your Template
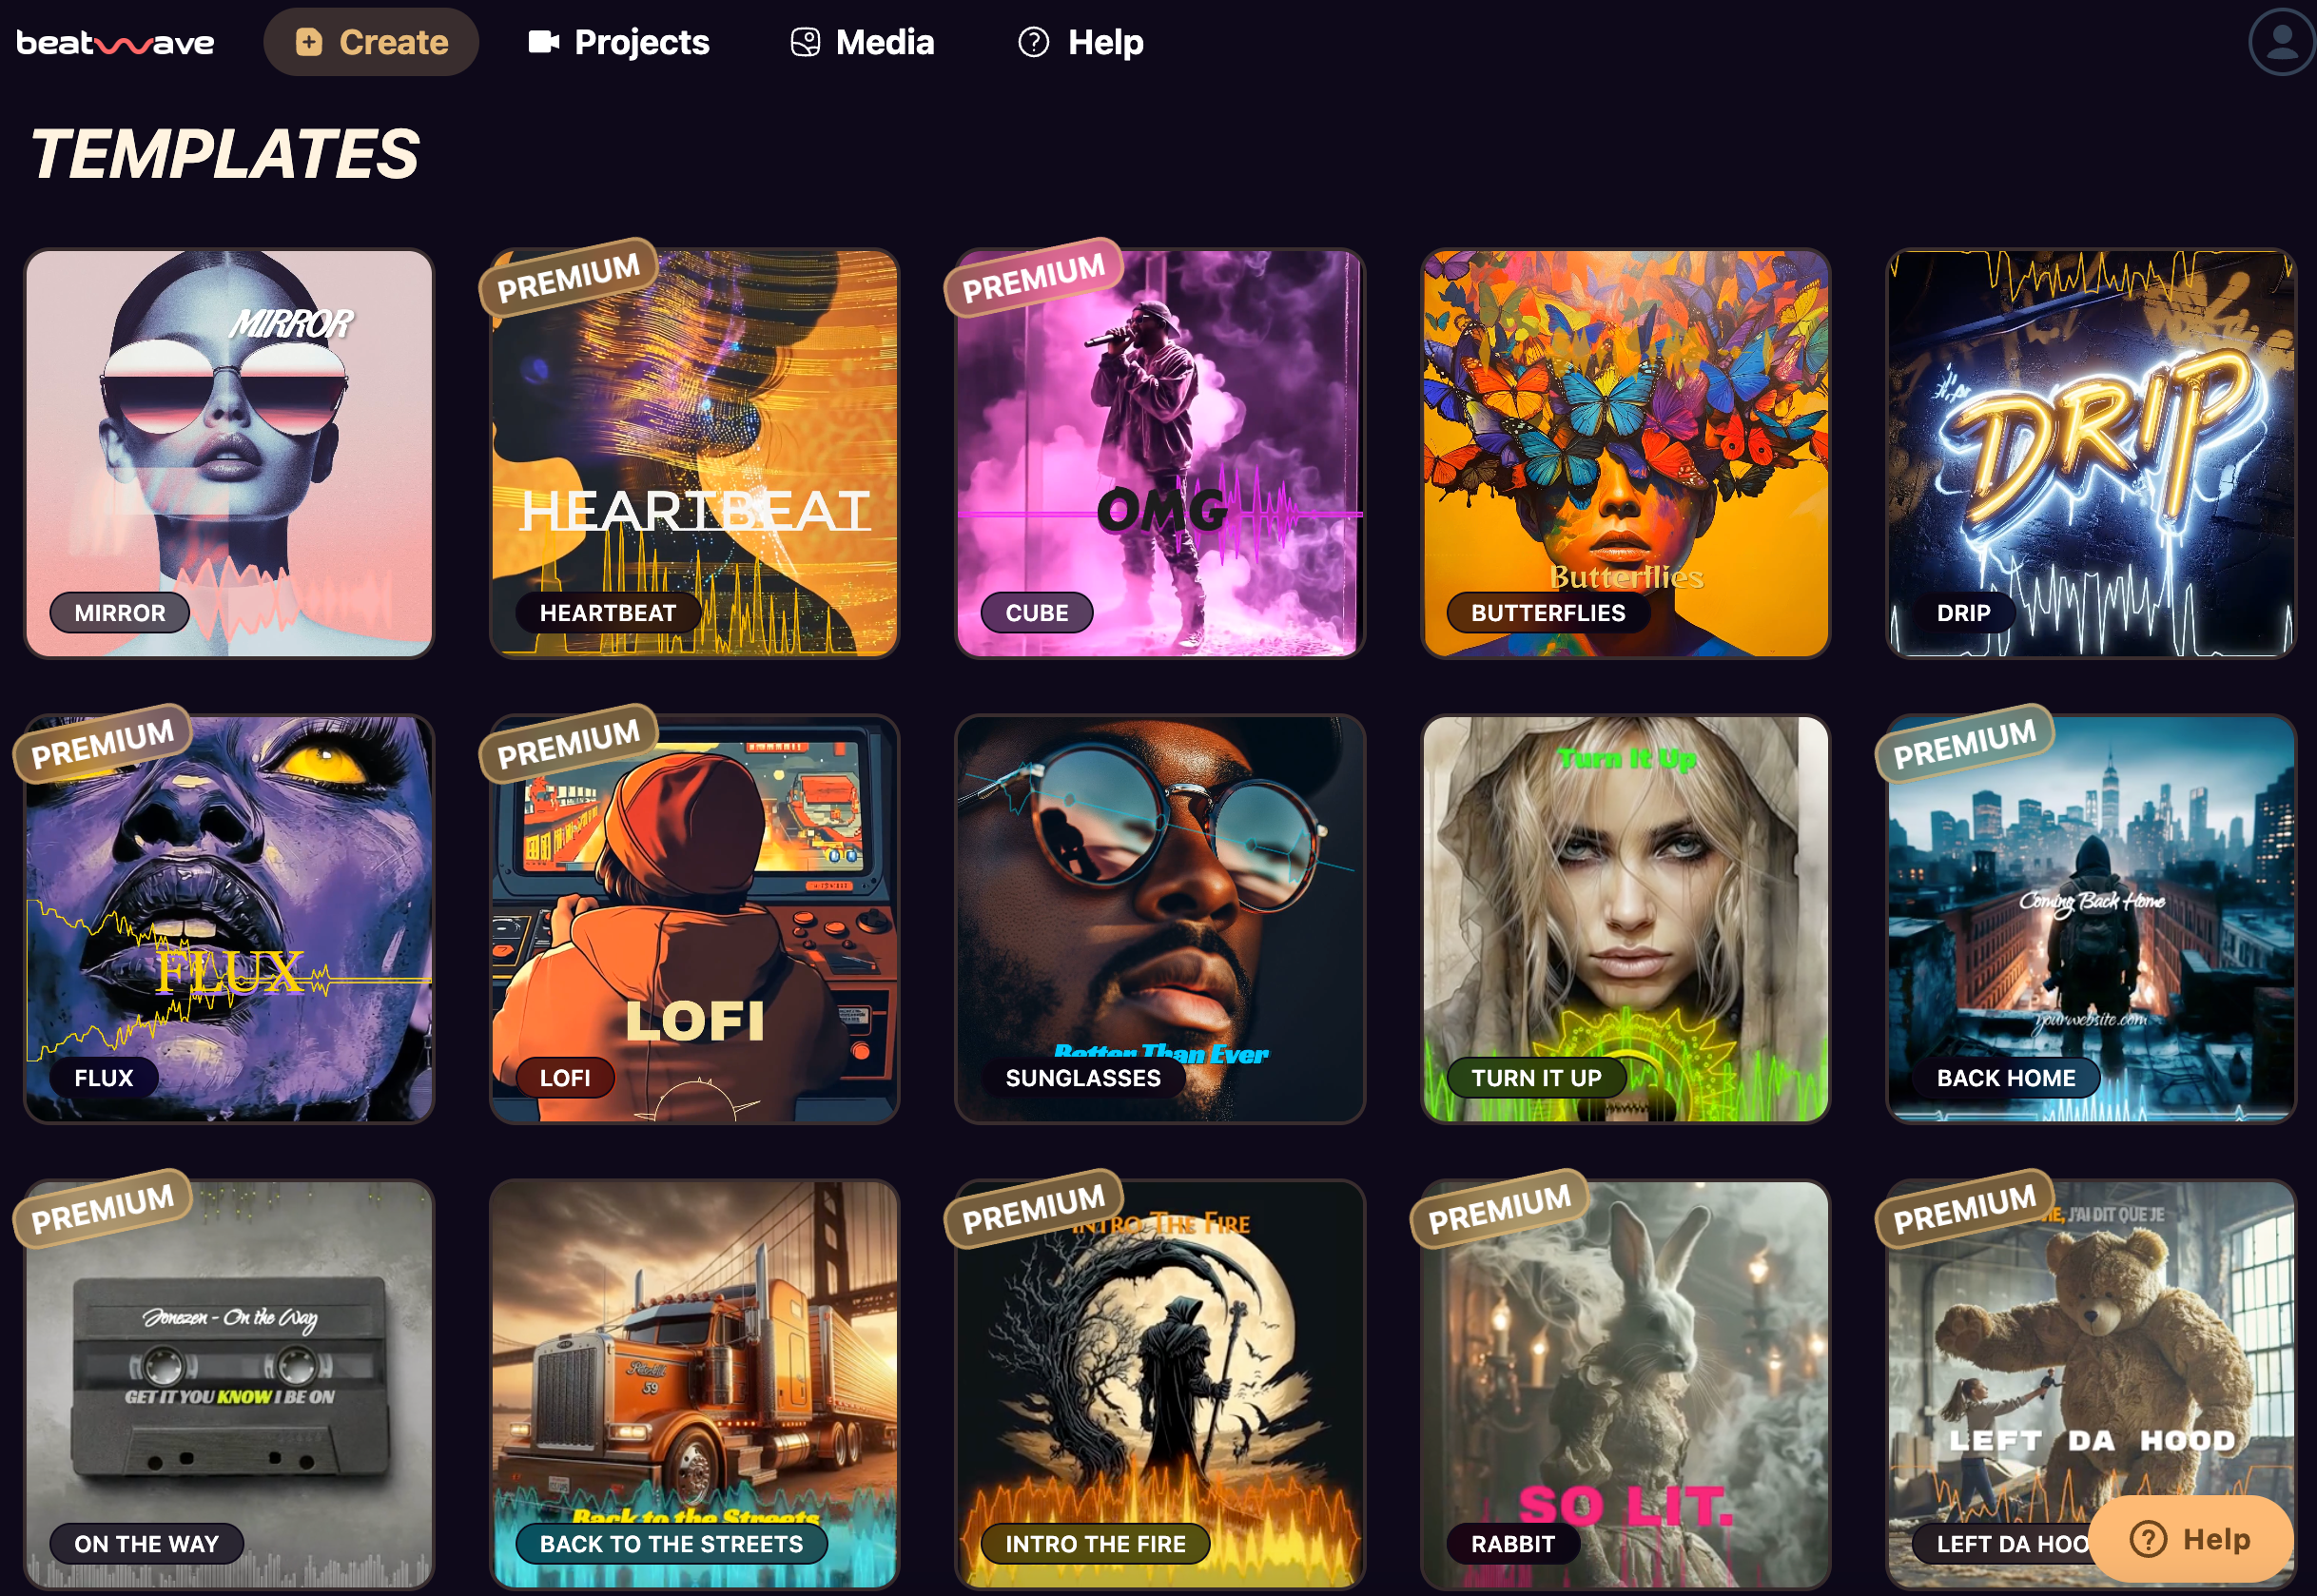
Beatwave’s template library offers a wide range of options, so finding the right look is simple.
- Browse the templates labeled “Audio Spectrum” or “Waveform.”
- Look for designs that suit your content’s style, whether it’s music, a podcast, or a spoken-word piece.
- Templates are fully customizable, so choose one that sets the foundation for your vision.
- Click to select your preferred template, and you’re ready for the next step.
This feature makes it easy to visualize music in a style that matches your brand or vibe.
Step 2: Upload Your Audio
Now it’s time to bring your sound to life.
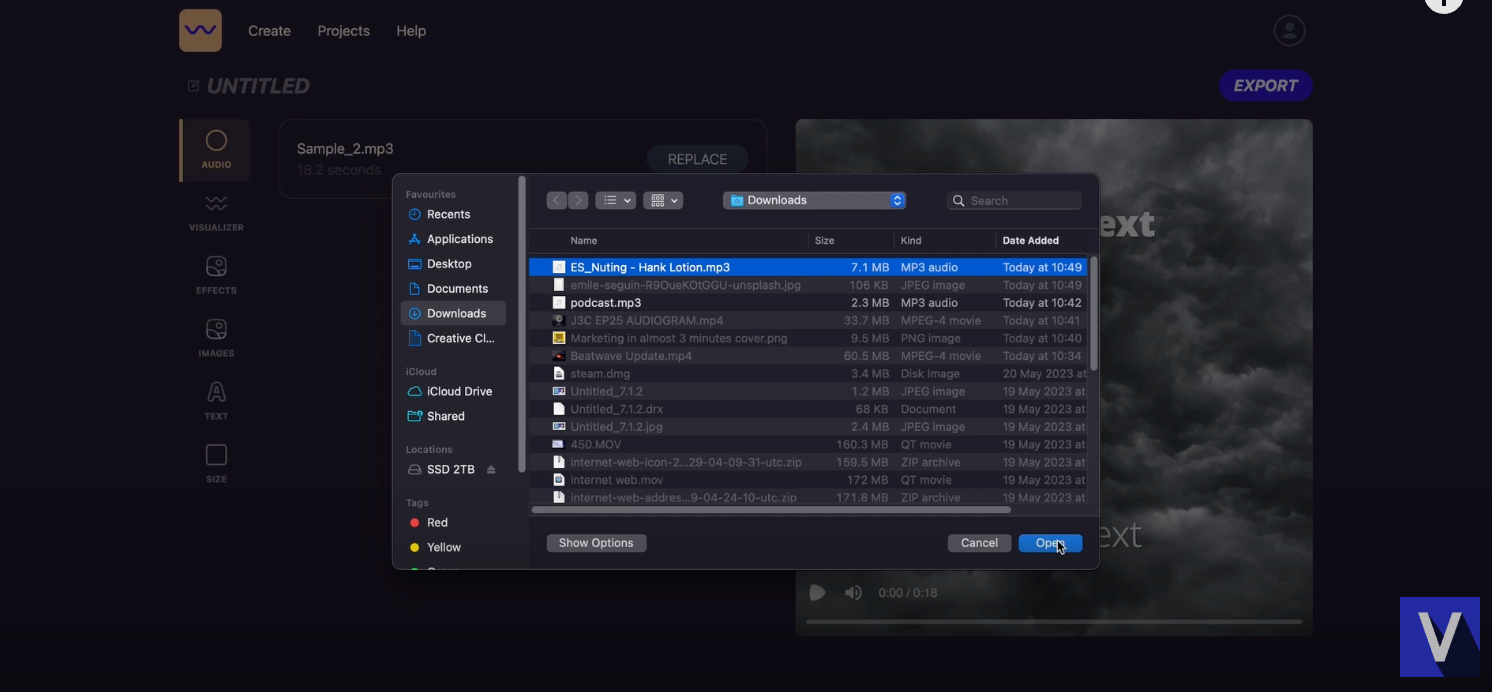
- Supported formats include MP3 and WAV files—the most common formats for high-quality audio tracks.
- Click the upload button, select your audio file, and let Beatwave handle the rest.
- As the platform analyzes your sound, you’ll see a live preview of the audio visualizer reacting to your music’s beat and rhythm.
For the best results, ensure your audio quality is crisp and free of distortion. High-quality files lead to stunning visuals that captivate your audience.
Step 3: Customize Your Waveform
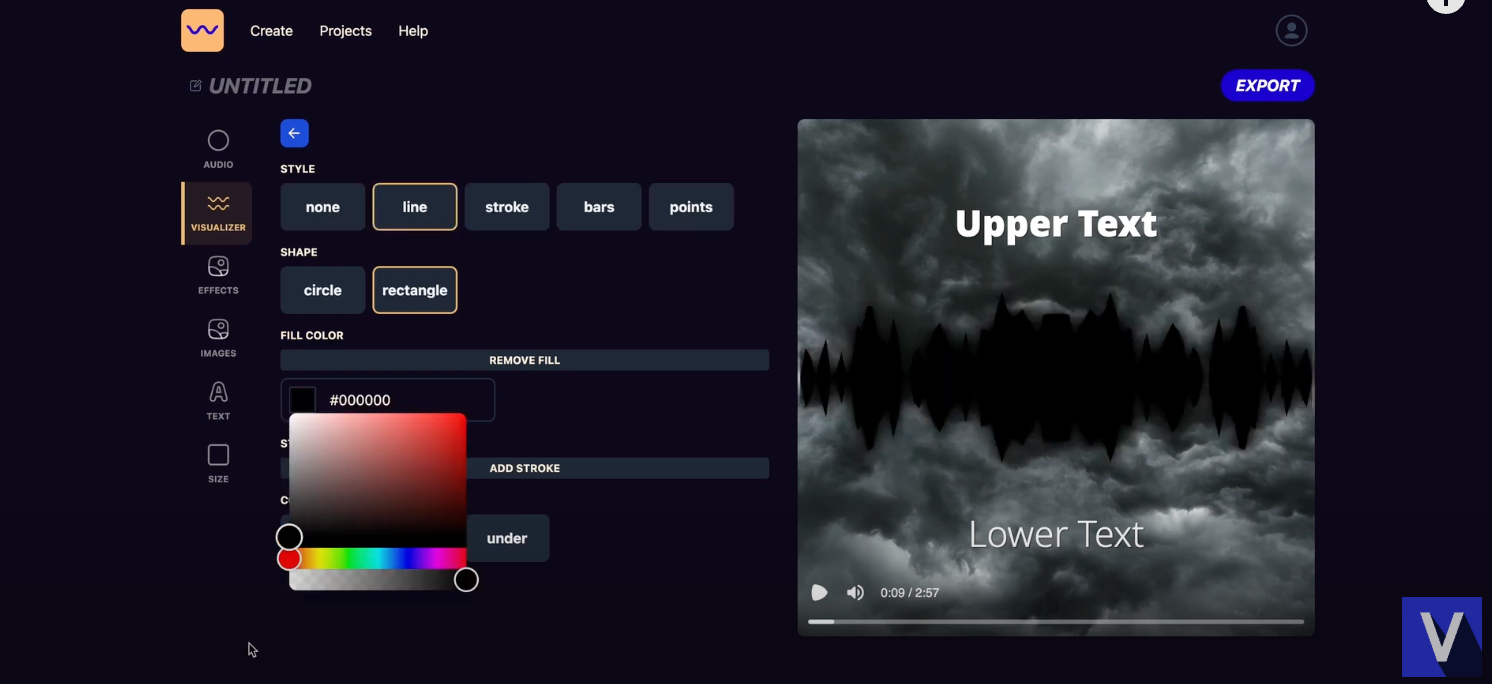
In the Visualizer section, you’ll find several ways to customize your visuals. Here’s how:
- Choose Your Waveform Style:
- Line Waveforms: Clean and minimal, perfect for podcasts or professional use.
- Point Waveforms: Edgy and dynamic for modern tracks.
- Stroke Waveforms: Bold and impactful, great for high-energy music.
- Adjust Inner and Outer Settings:
- Fine-tune the shape and size to match your aesthetic.
- Adjust colors to align with your branding or the mood of your audio file.
- Set Stroke Width:
- Increase the thickness for higher visibility or keep it subtle for a sleeker look.
With Beatwave’s customization options, you can adapt the visuals to reflect your unique style.
Step 4: Add Dynamic Effects
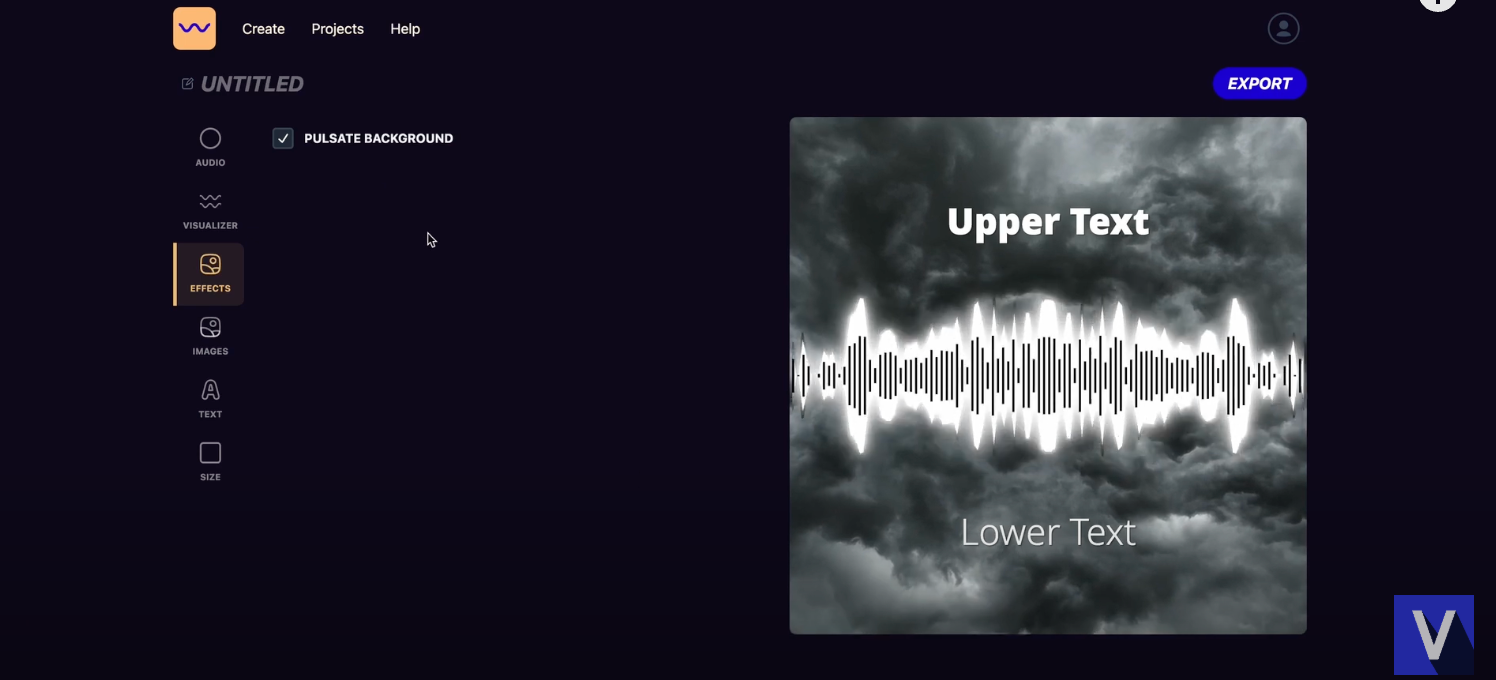
Adding movement to your music visualizer can enhance the experience for your audience.
- Toggle the pulsate effect to add rhythmic motion that syncs with your music’s beat.
- For music tracks, enable this for dynamic, energetic movement.
- For spoken content, consider disabling it to maintain focus on the dialogue.
- Adjust the effect’s intensity and sensitivity to fine-tune how it reacts to your audio.
- Watch the live preview to see how the visuals respond to the rhythm and sound of your track.
Step 5: Add Visual Elements
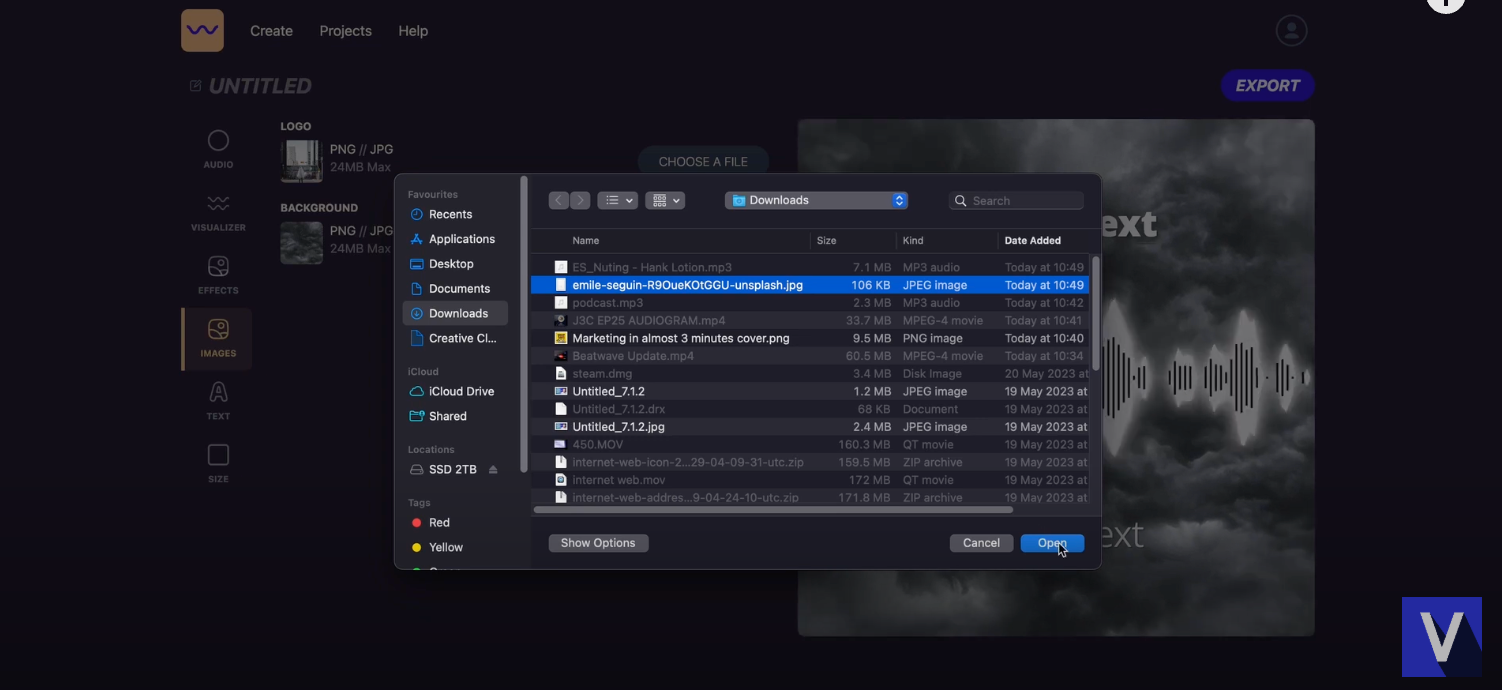
Take your project to the next level by incorporating images and text.
- Upload Images:
- Add logos, album art, or other graphics to personalize your visualizer.
- Resize and position the images where they complement the visual experience.
- Add Text Overlays:
- Include key details such as the track title, artist name, or any promotional info.
- Choose fonts that match your style while ensuring readability against the background.
These customizable visuals allow you to create professional-quality videos that are both creative and functional.
Step 6: Format for Your Platform
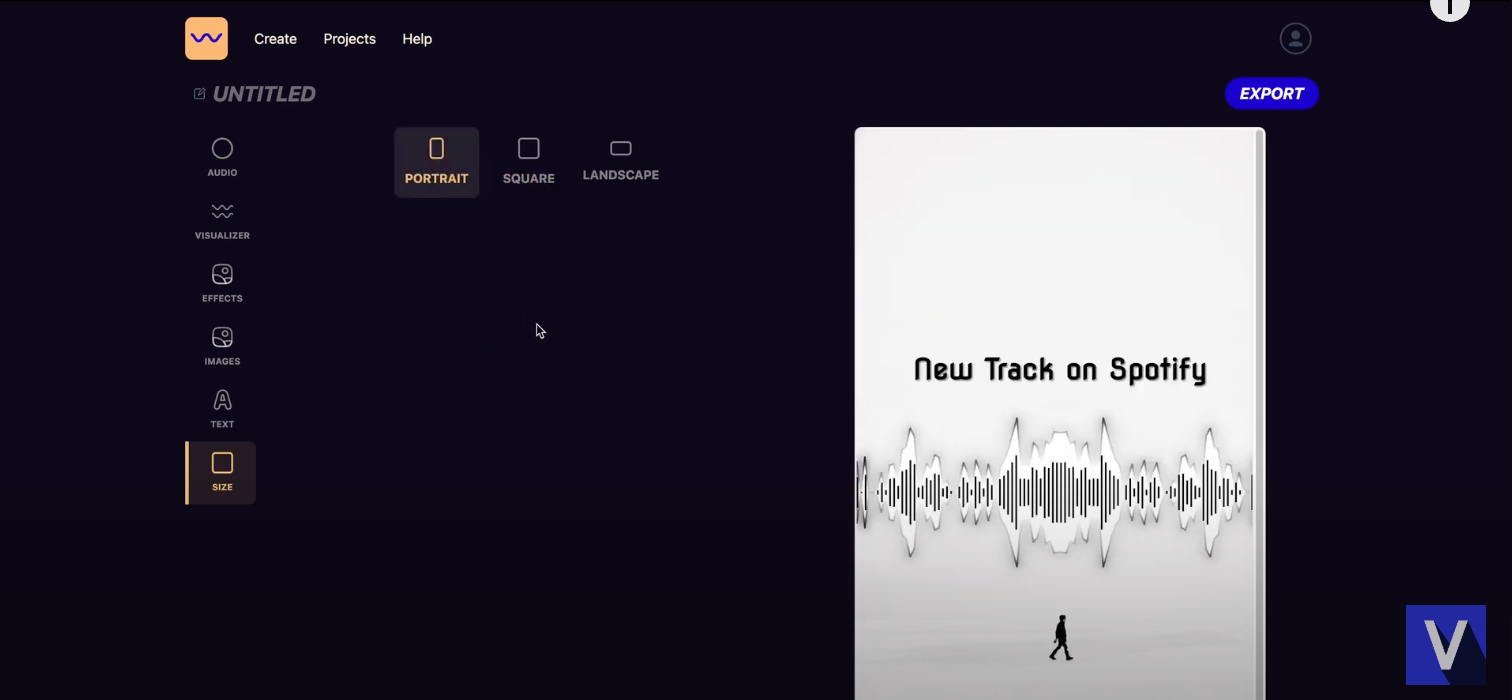
Different social media platforms require different video dimensions. Beatwave makes it easy to resize your video for seamless sharing.
- Landscape (16:9): Ideal for platforms like YouTube or live performances.
- Square (1:1): Perfect for Instagram posts or ads.
- Vertical (9:16): Tailored for TikTok, Instagram Reels, and other vertical-first platforms.
Ensure your visuals are optimized for the platform to maximize engagement with your audience.
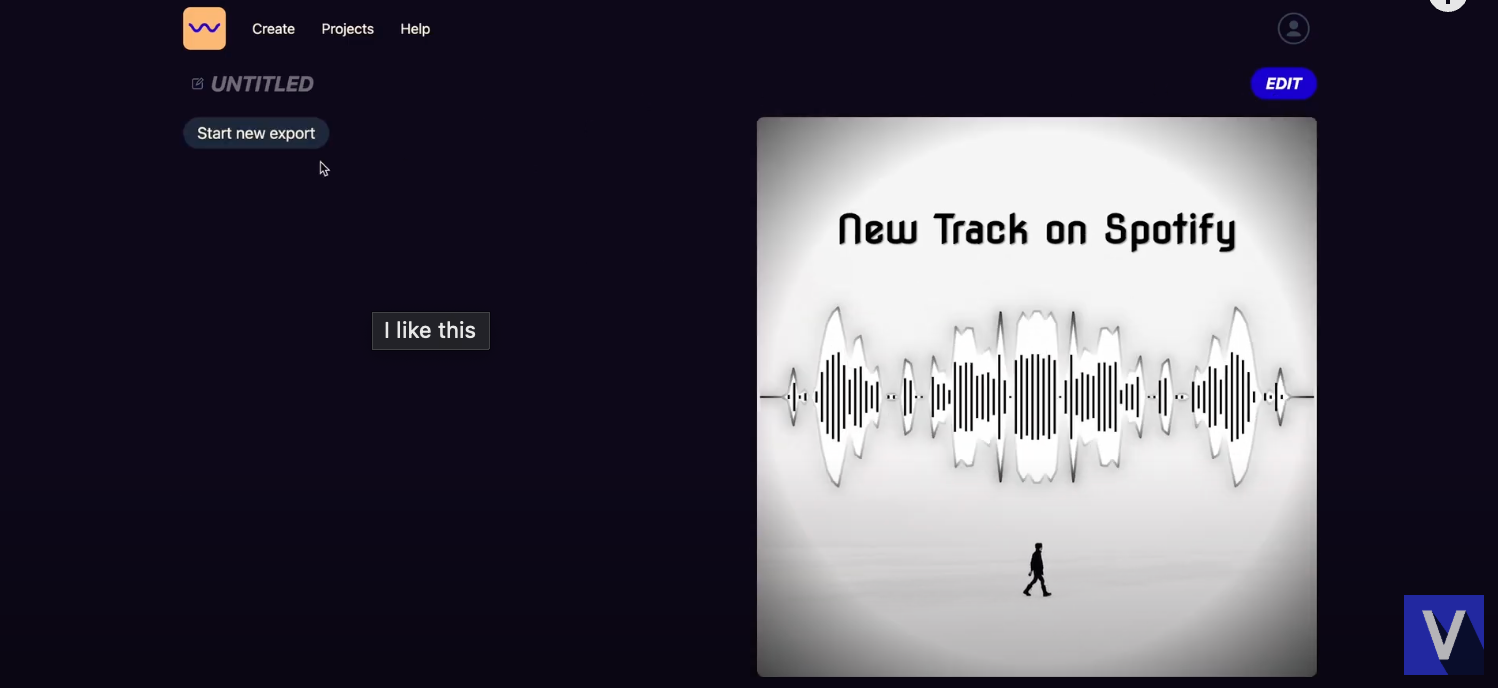
Step 7: Export and Share
Once your project is complete, it’s time to share it with the world.
- Click the export button.
- Choose your desired quality settings for a polished result.
- Beatwave will handle the video render, so sit back and wait for it to finish.
- Once rendered, download your video and upload it to your chosen social media platforms or share it as part of your promotional content.
Pro Tips for Better Results
To truly stand out, here are some extra tips:
- Experiment with Waveform Styles: Test different styles to see what works best for your specific audio track.
- Keep Branding Consistent: Use your logo, colors, and fonts to maintain a cohesive look across all your visuals.
- Preview Before Sharing: Test your video on multiple devices to ensure it looks good everywhere.
- Save Your Settings: For recurring projects, save your customization settings to save time.
- Optimize for Each Platform: Consider platform-specific requirements like video length and resolution.
Why Use Beatwave?
Beatwave’s cutting-edge tools allow artists, musicians, and content creators to transform their audio into engaging visualizations. Whether for commercial purposes or personal use, this AI music visualizer is packed with features to help you create stunning visuals with ease.
Free music visualizer templates ensure anyone can get started, while advanced options let professionals enhance their visual experience. With support for high-quality audio files and seamless integration with social media, Beatwave empowers you to reach your audience like never before.
Final Thoughts
Creating stunning music visualizations doesn’t have to be complicated. With Beatwave’s user-friendly interface and robust customization options, you can create engaging video content in just a few steps.
From selecting a template to adding dynamic effects, Beatwave helps you enhance your sound and bring your audio to life. Try it today and take your content to the next level.

