An audio visualizer can be a great addition to your music or audio content.
Whether you’re an artist, content creator, music enthusiast, or just someone who wants to add some extra flair to your audio files, an audio spectrum can be a great tool. Here’s how to make an audio spectrum in a few easy steps.
1. Choose Your Tools
First, you need the right software. There are many options out there. Here are a few to take a look at:
- Adobe After Effects: A professional-grade audio spectrum tool. Expensive but has lots of features.
- VSDC Free Video Editor: A free option that’s easy to use and gets the job done.
- Beatwave: If you’re looking specifically for a music visualization tool, Beatwave is the best choice. It has customizable waveforms and additional features like AI lyric generation.
2. Prepare Your Audio File
Before you start creating your audio visualizer, make sure your music is ready. Clean up any noise, cut, rearrange, and ensure the volume is consistent across your audio clips.
This will make your audio spectrum look smoother and sound more professional.
3. Import Your Audio
Open your chosen software and import your audio track. This is usually as simple as dragging and dropping the file into the platform or pressing ‘upload’ and selecting your audio file.
4. Create the Spectrum
Now, create the actual spectrum:
- Adobe After Effects: Use the “Audio Spectrum” effect. You’ll find this under “Effect” > “Generate” > “Audio Spectrum”. Apply this to a new solid layer. Make sure to select the specific audio layer to apply the audio visualizer effects.
- VSDC: Go to “Add object” > “Audio” > “Waveform”. Customize the settings to your taste.
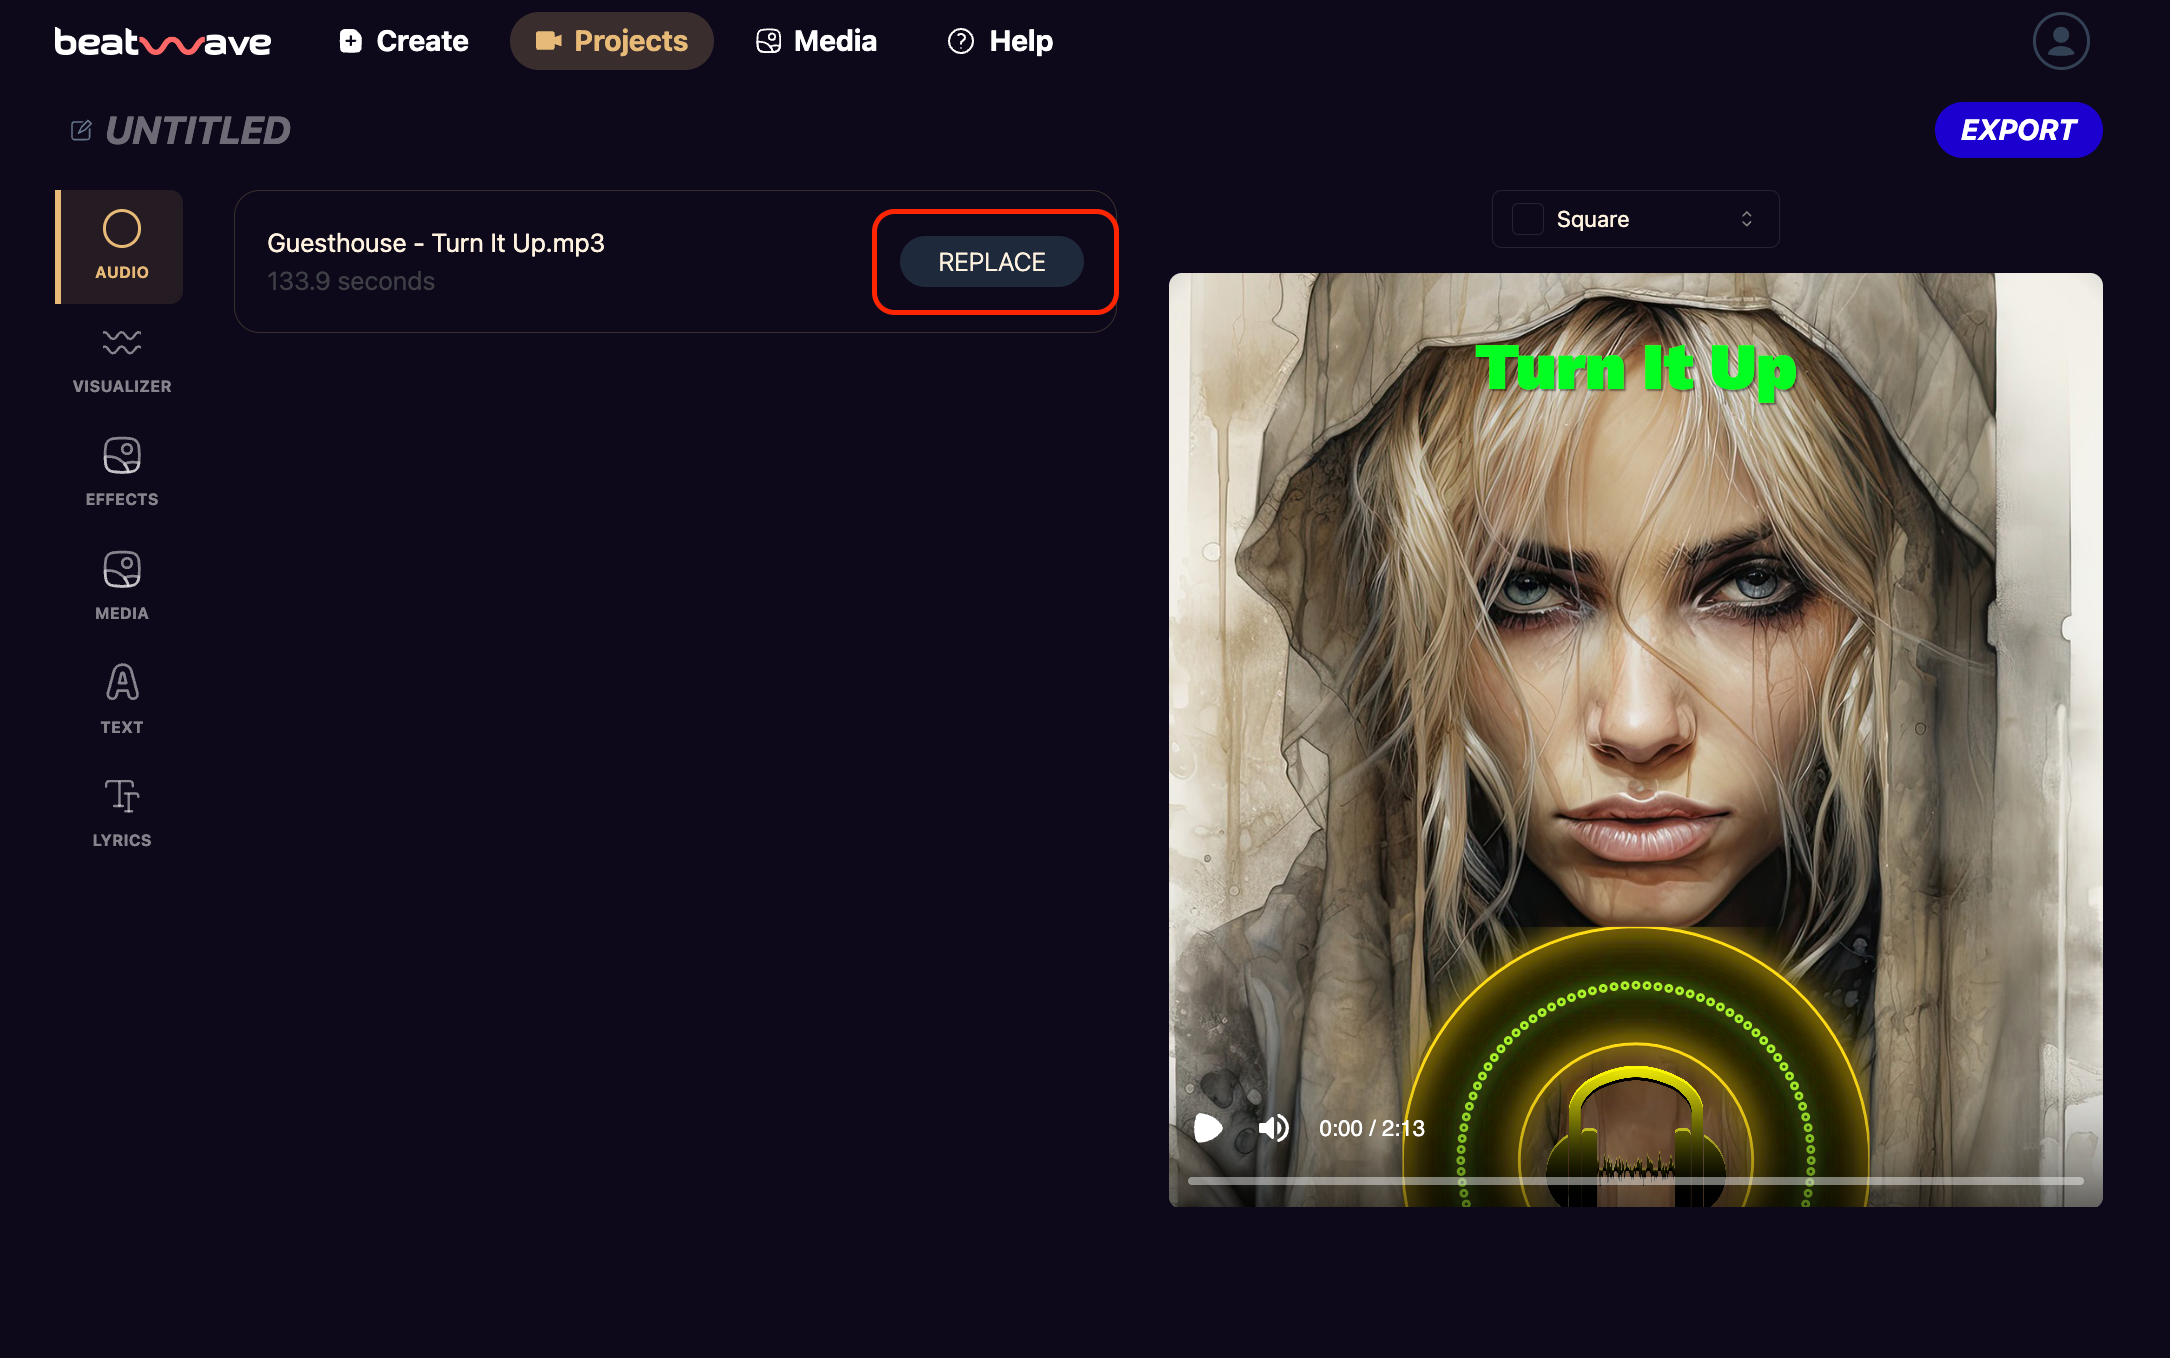
- Beatwave: Simply select an audio visualizer template and upload your audio source.
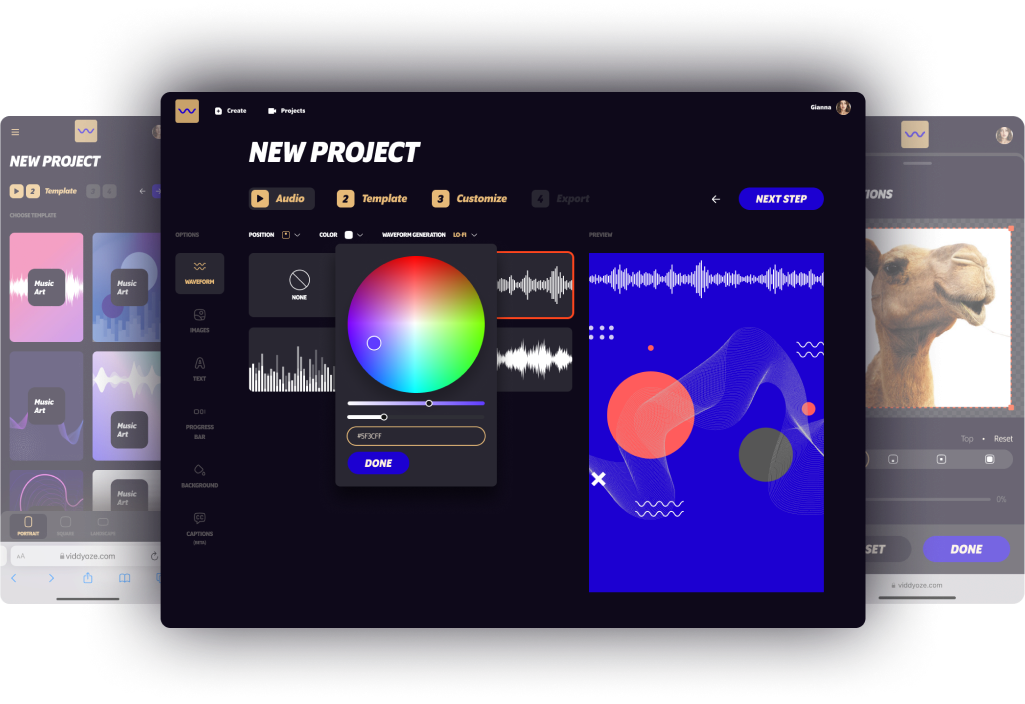
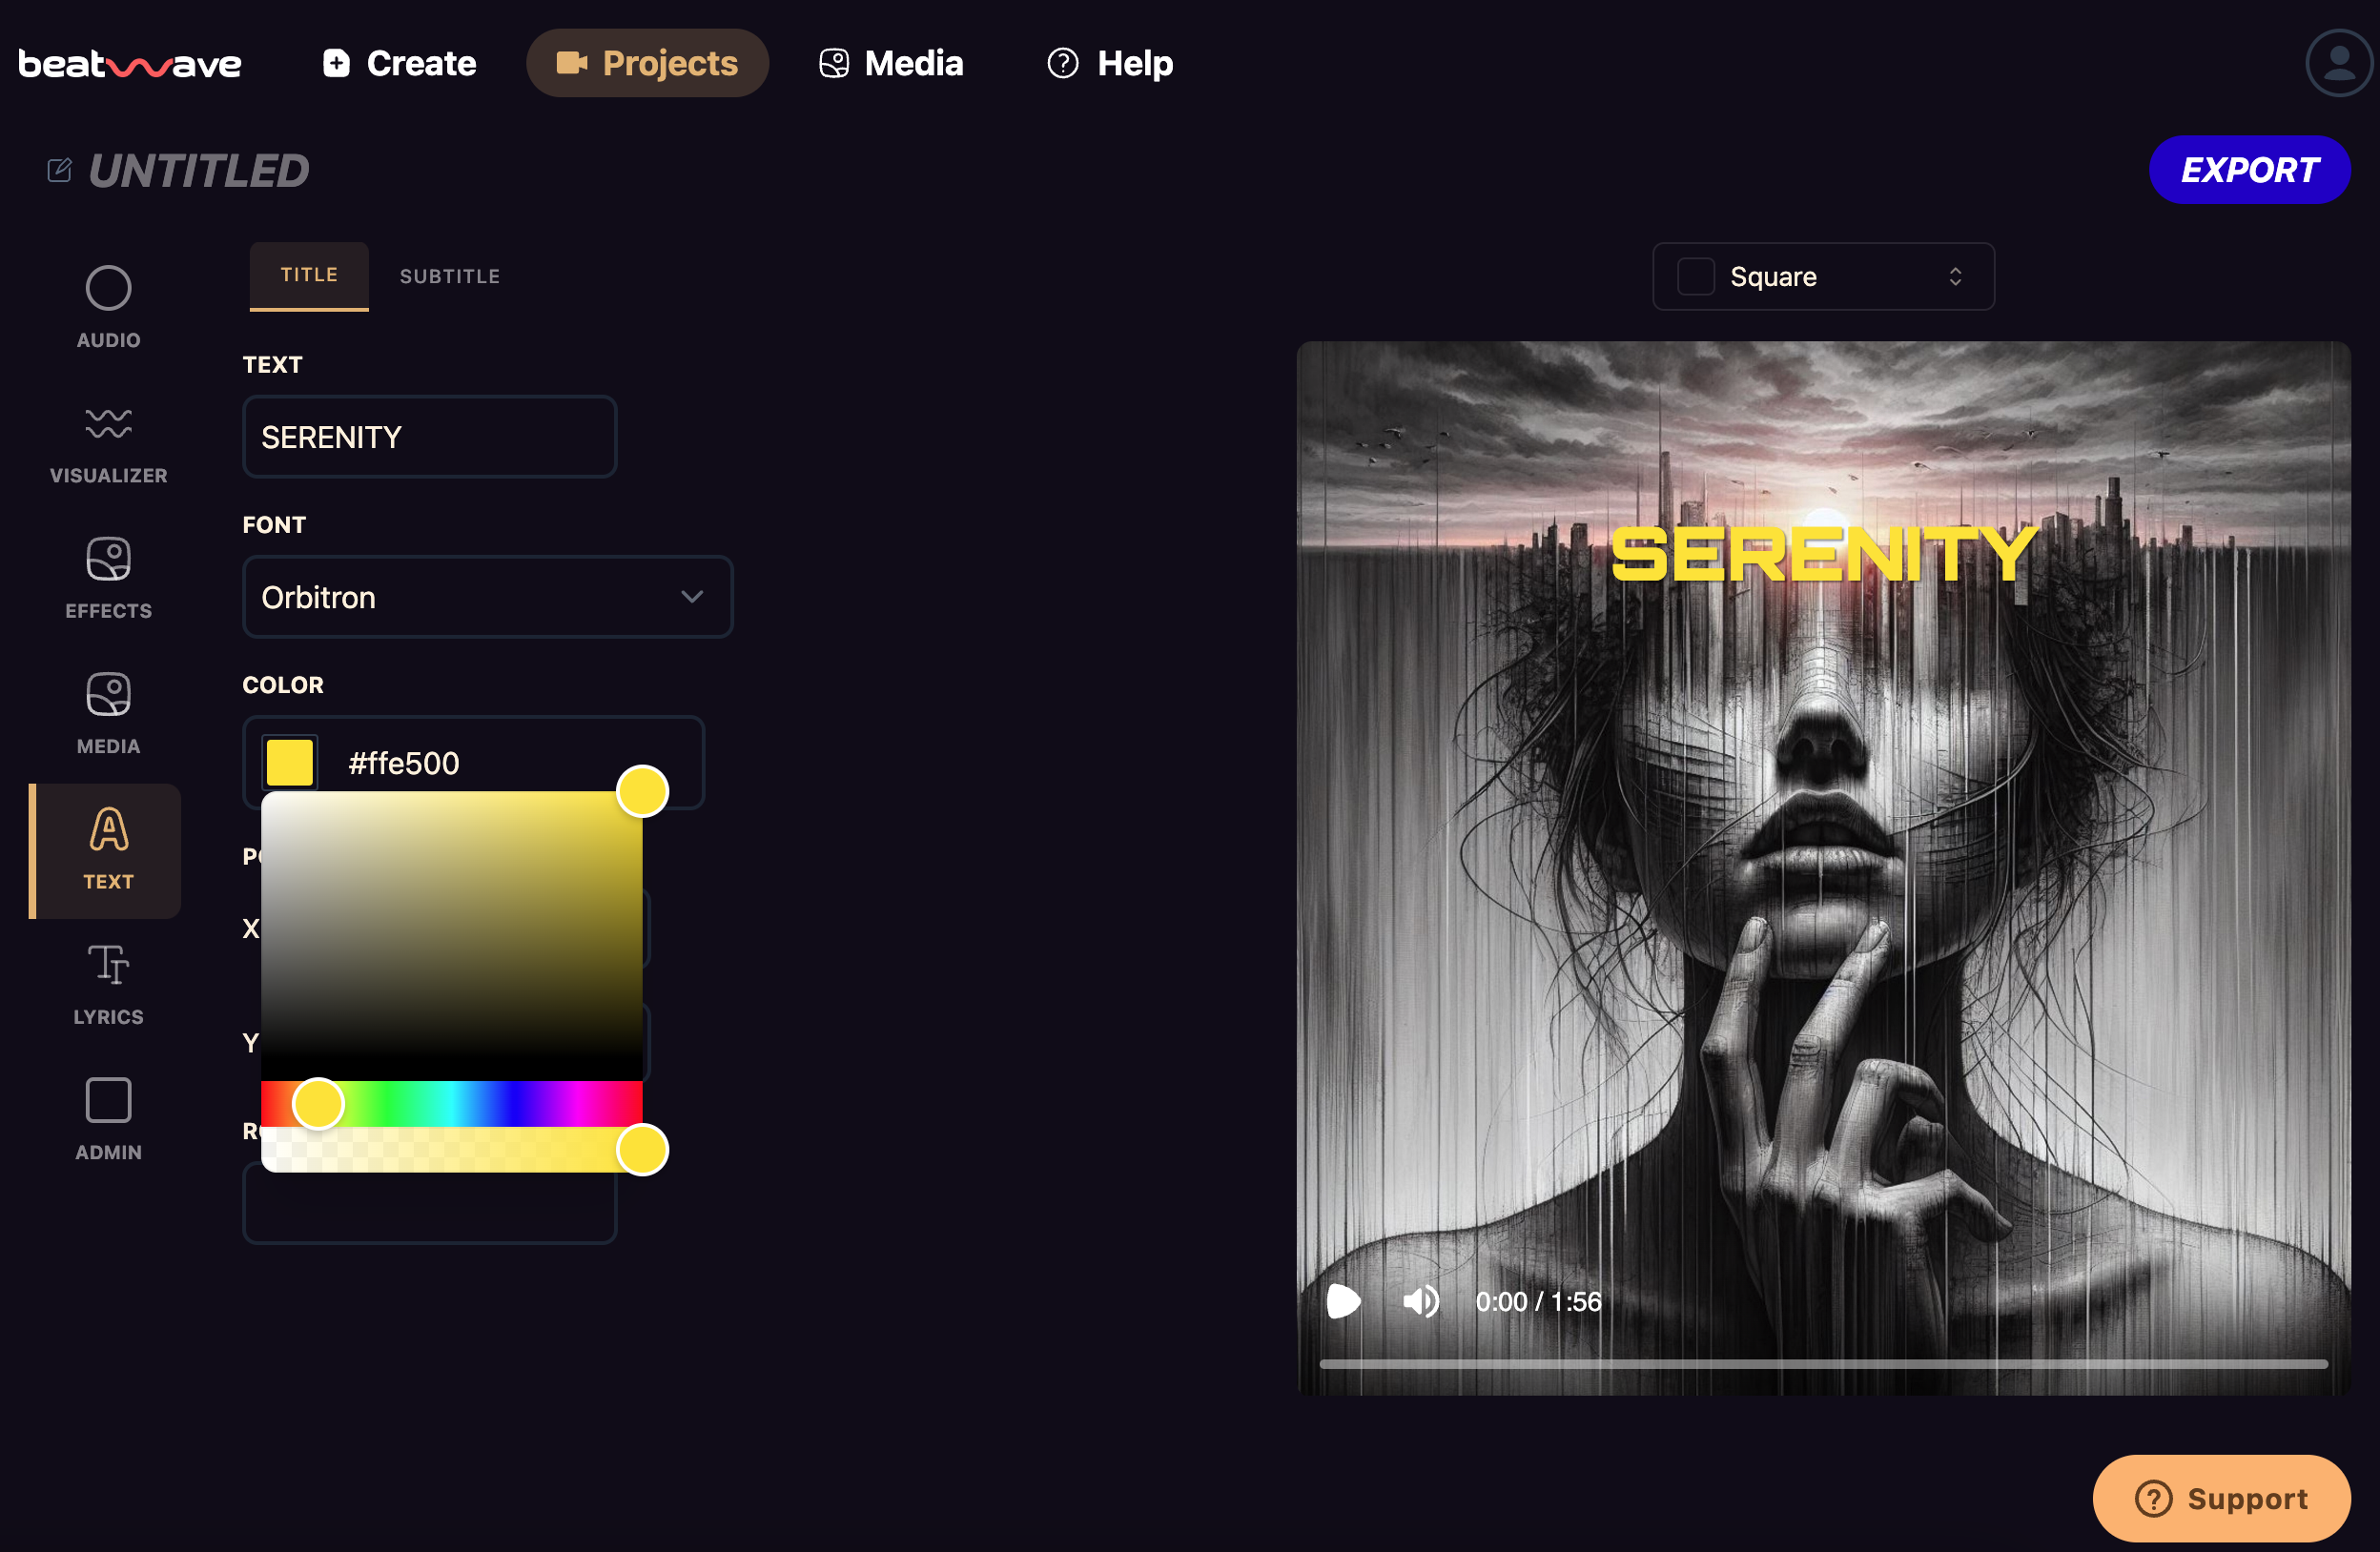
5. Customize Your Audio Visualizer
The default settings might not be the style you’re looking for, so customize the spectrum to match the vibe of your track. Here are some common adjustments:
- Frequency Range: This determines what frequencies are visualized. Adjust to focus on the most interesting parts of your audio.
- Colors and Styles: Change the colors to match your brand or the mood of the audio. You can also adjust the shape and style of the spectrum.
- Bar Width and Height: Adjust these to make the bars thicker or taller.
With Beatwave, customization changes can be made with the click of a button so no previous technical skills are required.
6. Sync with Audio
Make sure the spectrum is in sync with your audio. This usually involves adjusting the start and end of the spectrum effect to match your music. Beatwave automatically does this.
7. Add Backgrounds and Video Effects
An audio visualizer is great on its own, but you can make it even better by adding a background image or even video clips.
In Adobe After Effects, you can add new layers and arrange them in the timeline.
Additionally, you can use video effects to enhance the visual appeal, such as adding an animated soundwave for a stylish and engaging music or podcast video.
In Beatwave, you simply need to upload your image or video, and the platform will automatically place it perfectly in your audio visualizer.
8. Export Your Video
Once you’re happy with your audio spectrum, export your video file. Make sure to choose the right settings for your platform.
For example, you’ll want to use the highest quality settings if you’re uploading to YouTube.
- Adobe After Effects: Go to “File” > “Export” > “Add to Render Queue”. Choose your output settings and render.
- VSDC: Click “Export project”, select your format and export.
- Beatwave: Export options are self-explanatory; select your aspect ratio and export.
9. Share Your Creation
Now you have your audio visualizer video, share it with your audience! Post it on social media, upload it to YouTube, or add it to your website.
Audio spectrums are great for grabbing attention and engaging viewers.
Tips for a Great Audio Spectrum
- Keep It Simple: Don’t overcomplicate the music video. A clean, simple visual representation is more effective than a cluttered one.
- Match the Mood: Make sure the colors and style of the spectrum match the mood of the audio. Bright colors are best for upbeat tracks, and darker tones are best for more mellow pieces.
- Experiment with Shapes: Don’t just stick to bars. Experiment with different shapes like circles or sound waves to see what works best with your audio.
- Use High-Quality Audio: The better the quality of your audio, the better your spectrum will look. Avoid using low-quality files.
- Add Text or Logos: Branding is important. Add your logo or text overlays to personalize the video.
Common Problems to Avoid
- Out of Sync: If the music visualizer isn’t syncing with your audio, check the start and end of your effect. Make sure they match your music.
- Poor Quality: If the exported video is pixelated, change the export settings. This will make the file bigger, but it’s worth it.
- Software Crashes: Save your project often to avoid losing your work. If your software crashes a lot, close other programs to free up memory.
Why Choose Beatwave
When it comes to audio spectrum visualizations, Beatwave is the best platform available. Here’s why:
Easy to Use
Beatwave’s user-friendly interface enables you to create incredible music videos without any previous technical experience.
Endless Customization
Customize your waveform with various styles, colors, shapes, and sizes. Make your audio visualizer unique and align it with your brand or style.
Advanced Features
Beatwave offers more than just music visualizers. Enjoy features like AI lyric generation, which syncs lyrics with your audio.
Media Integration
Upload images and videos to create engaging, multi-layered visual content. Combine your audio visualizer with backgrounds, logos, or video clips for added depth.
High-Quality Output
Get professional, high-resolution music videos that look great on YouTube, social media, or any platform.
Community and Support
Benefit from a supportive community and responsive customer service. Access tips, tricks, and tutorials to make the most of Beatwave.
Affordable
Beatwave offers incredible features at a cost-effective price.
Final Thoughts
Creating an audio visualizer is easier than you think. With the right tools and some practice, you’ll be making professional-looking visualizations in no time.
Whether you’re promoting a new track or just want to add some visual flair to your audio, an audio spectrum visualizer is the way to do it. Start creating incredible music videos with Beatwave today!