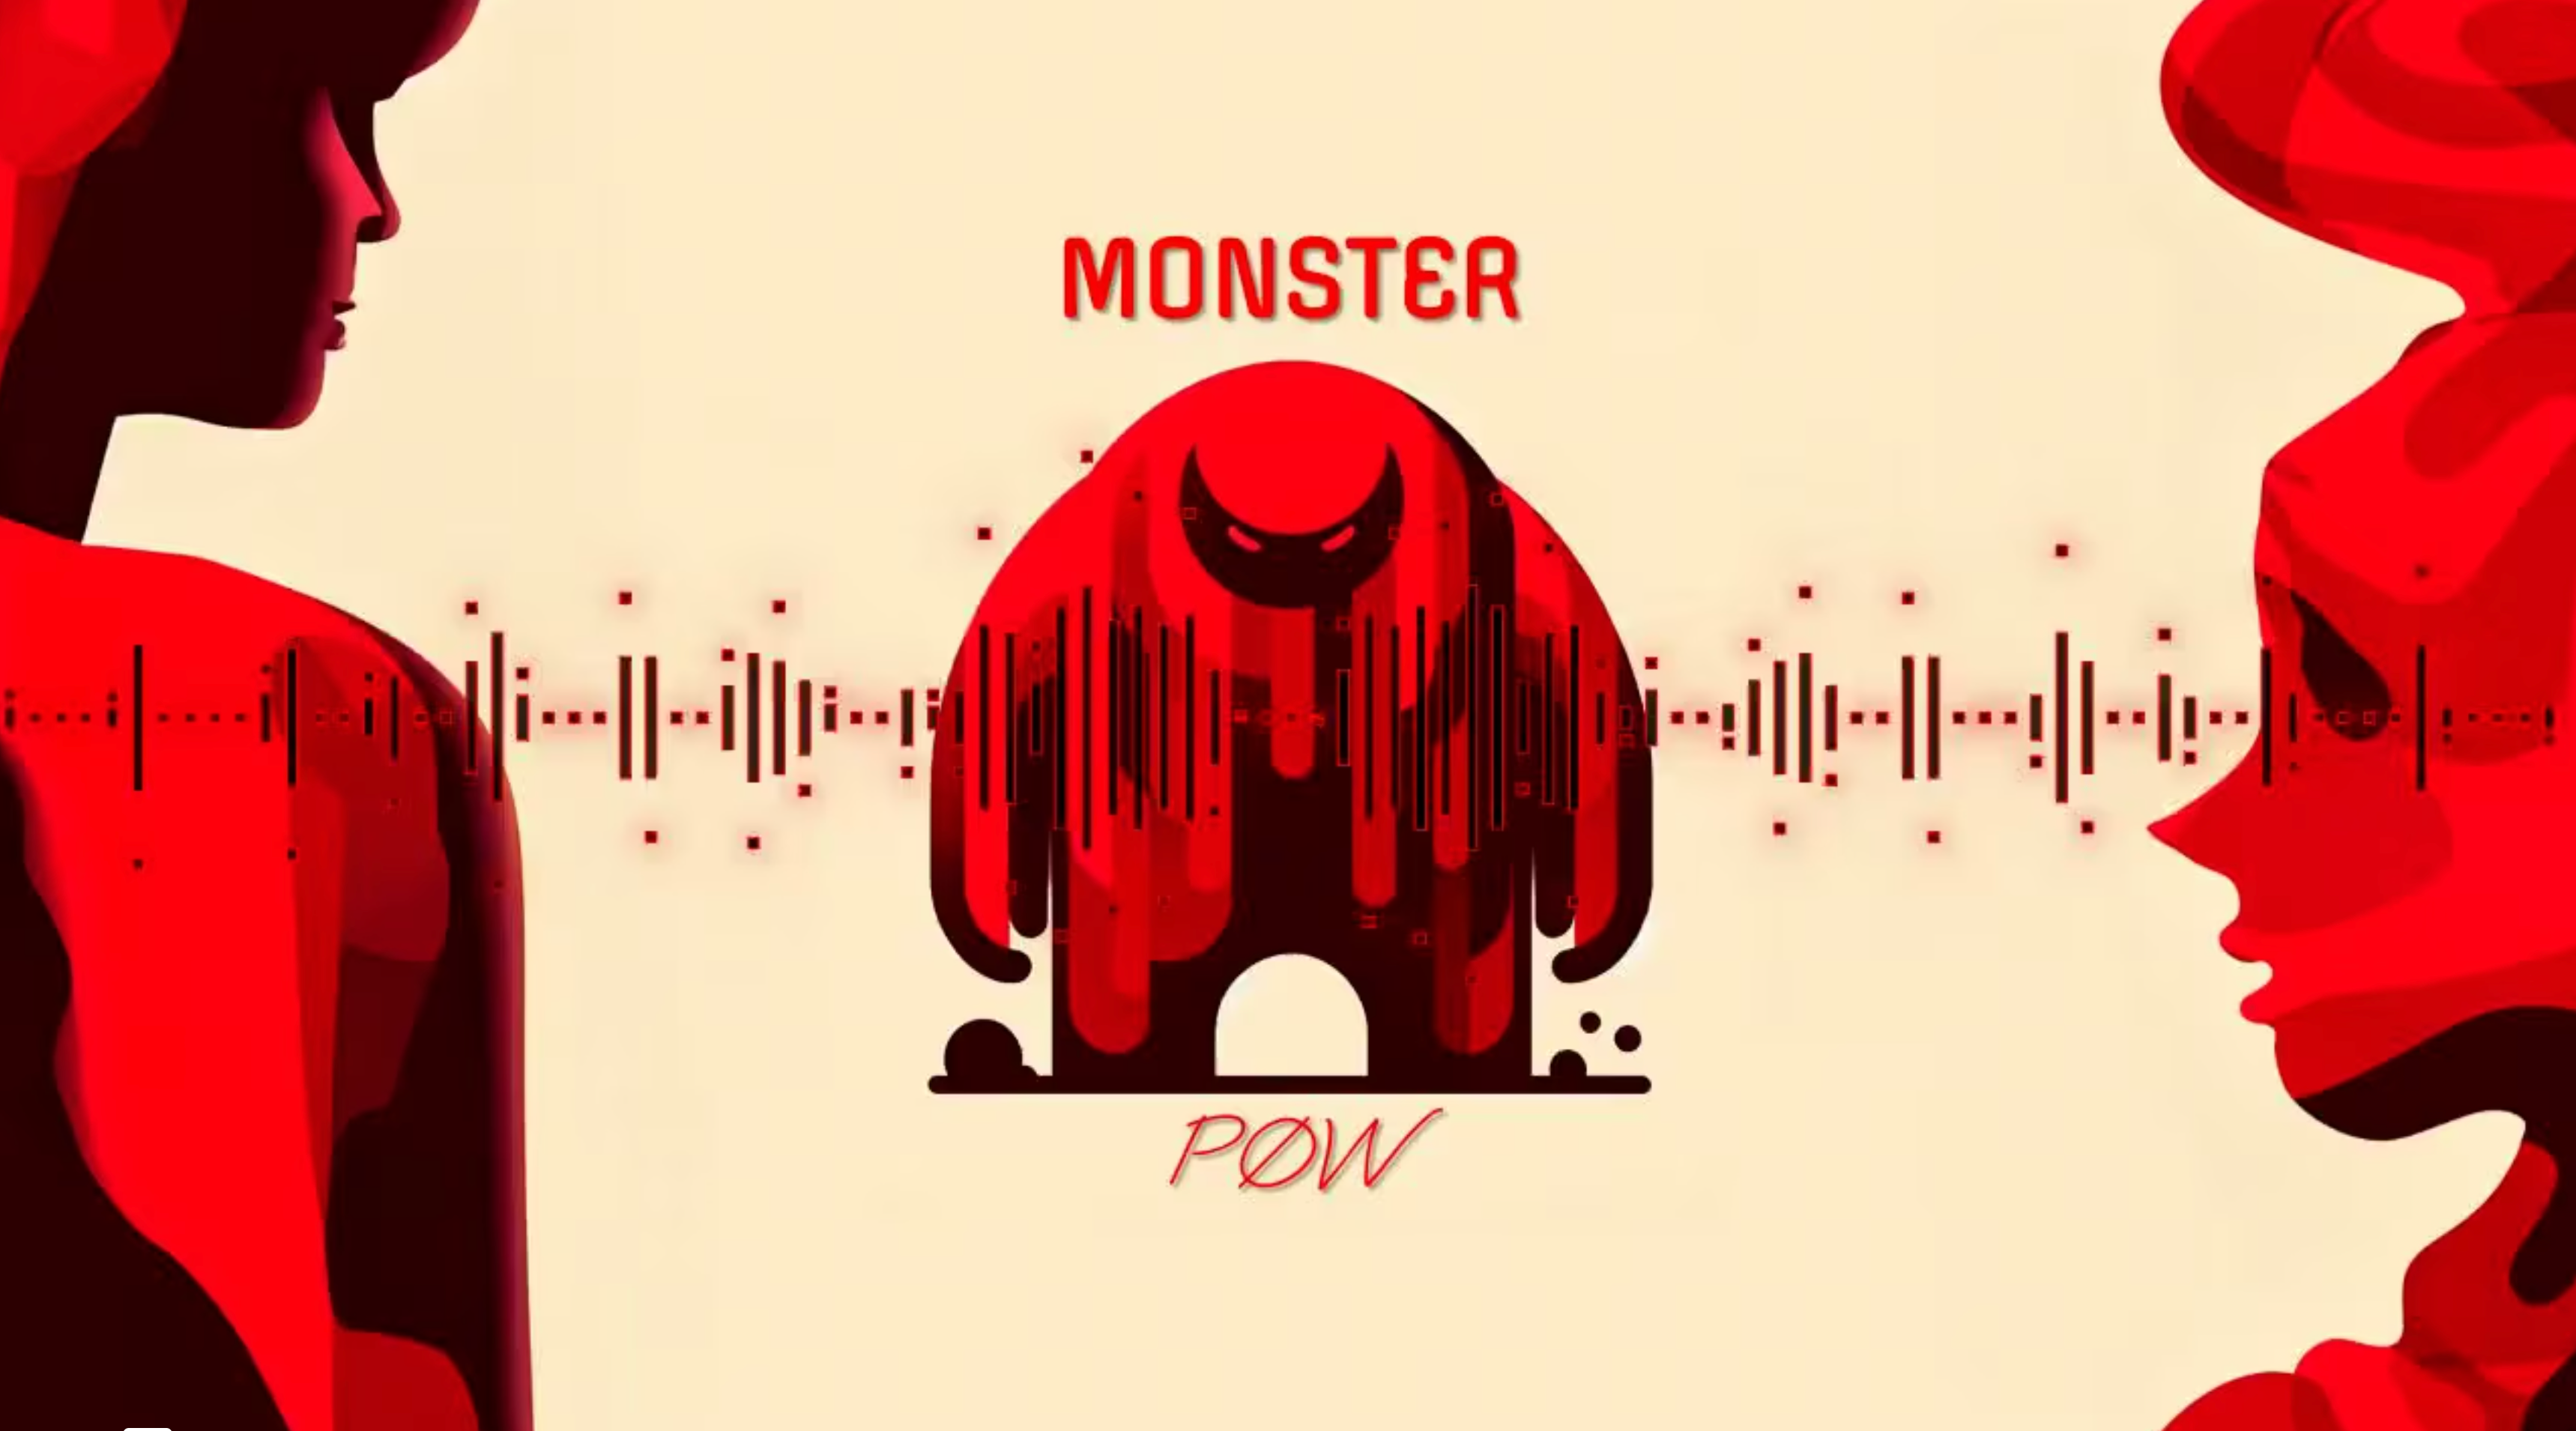
Have you ever wanted to create a super cool audio spectrum for your audio files but dreaded the thought of wrestling with After Effects? Well, you’re in luck. Today, we will introduce you to the online audio visualizer platform Beatwave.
Creating audio visualizations can be a powerful way to enhance your audio content, whether you’re sharing music, podcasts, or any other type of sound.
In this blog post, we’ll show you how it’s now easier than ever to generate stunning visuals without needing high-end software or advanced technical skills.
Introduction to Online Audio Visualizers
Unlike traditional software like After Effects, which can be complex and time-consuming, online audio visualizer platforms like Beatwave offer a user-friendly interface and streamlined process, making it accessible to beginners and professionals.
An online audio visualizer transforms your sound into engaging visuals, providing an immersive experience for your audience. This visual content can be especially effective on platforms like YouTube, Instagram, and TikTok, where visual content is preferred.
Getting Started with Beatwave
Let’s jump into the steps to create a captivating audio spectrum using Beatwave.
Step 1: Selecting an Animation Template
Once you’ve logged into Beatwave, the first thing you need to do is select a visualizer from the large library of templates. These templates act as the foundation for your audio spectrum. Beatwave offers a variety of templates, each designed to suit different styles and preferences. This is one of the key features that makes Beatwave stand out among other online audio visualizers.
Whether you’re going for a minimalist look or something more dynamic, Beatwave’s diverse template library ensures you’ll find something that matches your vibe.
Step 2: Uploading Your Audio File
After selecting a template, the next step is to upload your chosen audio file. This is where the magic begins. Beatwave provides a live preview showing the waveform of your audio as it plays. Watching your sound come to life visually is like seeing the heartbeat of your audio.
Step 3: Customizing Your Waveform
Now, let’s move on to customizing the waveform. To match your style, you can tweak the inner and outer waveforms in the’ Visualiser’ section. Beatwave allows you to choose styles such as ‘Line Waveforms’, ‘Point Waveforms’, or ‘Stroke Waveforms’. You can also adjust the colors and stroke of your waveforms to align with your aesthetic.
Customization is where you can make your audio visualizer uniquely yours. Modifying colors, styles, and strokes allows you to make your visualizer as distinct as your audio content.
Step 4: Adding the Pulsate Effect
Next up is the pulsate effect. This feature can be turned on or off, depending on your preference. If you’re working with a music track, I’d recommend keeping it on for an extra interesting effect. However, for spoken words or dialogue, it’s generally best to keep it off so as not to distract from the text.
The pulsate effect adds a rhythmic element to your visualizer, making it more dynamic and engaging. These small touches can significantly affect how your audience perceives your content.
Enhancing Your Visuals with Images and Text
Step 5: Uploading and Adjusting Your Image
Once your waveform looks perfect, you can upload an image to accompany your audio spectrum. You can upload a brand logo, album cover, or any cool graphic that complements your audio.
Adding images to your audio visualizer can provide additional context and branding opportunities. For example, musicians can use album covers, while podcasters might include logos or images of the host.
Step 6: Customizing Your Text
Next, it’s time to add and customize your text. You can modify the content, font, and color. Whether you want to include the title of your track, the artist’s name, or any other information, Beatwave provides the customization features to make it look just right.
Text customization is important for sharing information concisely and stylishly. Choose fonts and colors that reflect your brand and track’s personality, and ensure the text is readable against your chosen background.
Final Touches and Exporting
Step 7: Choosing the Format
Before exporting your creation, decide on the format. Beatwave offers portrait, square, and landscape formats, allowing you to tailor your visualizer to different platforms like YouTube, Instagram, or TikTok.
Choosing the right format is essential for maximizing the impact of your audio visualizer on various platforms. For example, landscape formats are ideal for YouTube, while square or portrait formats work better on social media platforms like Instagram and TikTok.
Step 8: Exporting Your Audio Spectrum
And finally, the moment of truth! If you’re happy with the look of your audio visualizer, just hit export. Beatwave will start rendering your custom audio spectrum, and in no time, you’ll have a stunning visual ready to share with the world.
Benefits of Using an Online Audio Visualizer
Using an online audio visualizer like Beatwave comes with several advantages:
- Accessibility: Unlike traditional software like After Effects, online tools are often easier to use, making them accessible to a wider audience.
- Cost-Effective: Many online audio visualizers offer free versions or affordable subscription plans, which are much cheaper than professional-grade software like After Effects.
- Speed: The streamlined process of online audio visualizers allows for quicker turnaround times, enabling you to create and share your visuals in just a few clicks.
- Versatility: With various templates, customization options, and export formats, online audio visualizers provide the flexibility to create visuals that match your unique needs.
- No Installation Required: As these tools are web-based, there’s no need for bulky software installations, and they can be accessed anytime, anywhere.
Final Thoughts
There you have it – a stunning audio spectrum created without even touching After Effects.
If you want to try Beatwave out for yourself, click HERE to get started. With the power of an online audio visualizer, creating professional-grade audio visualizers is just a few clicks away.


